DIY Backyard Chicken Run Setup
Highlighted under: Quick & Simple
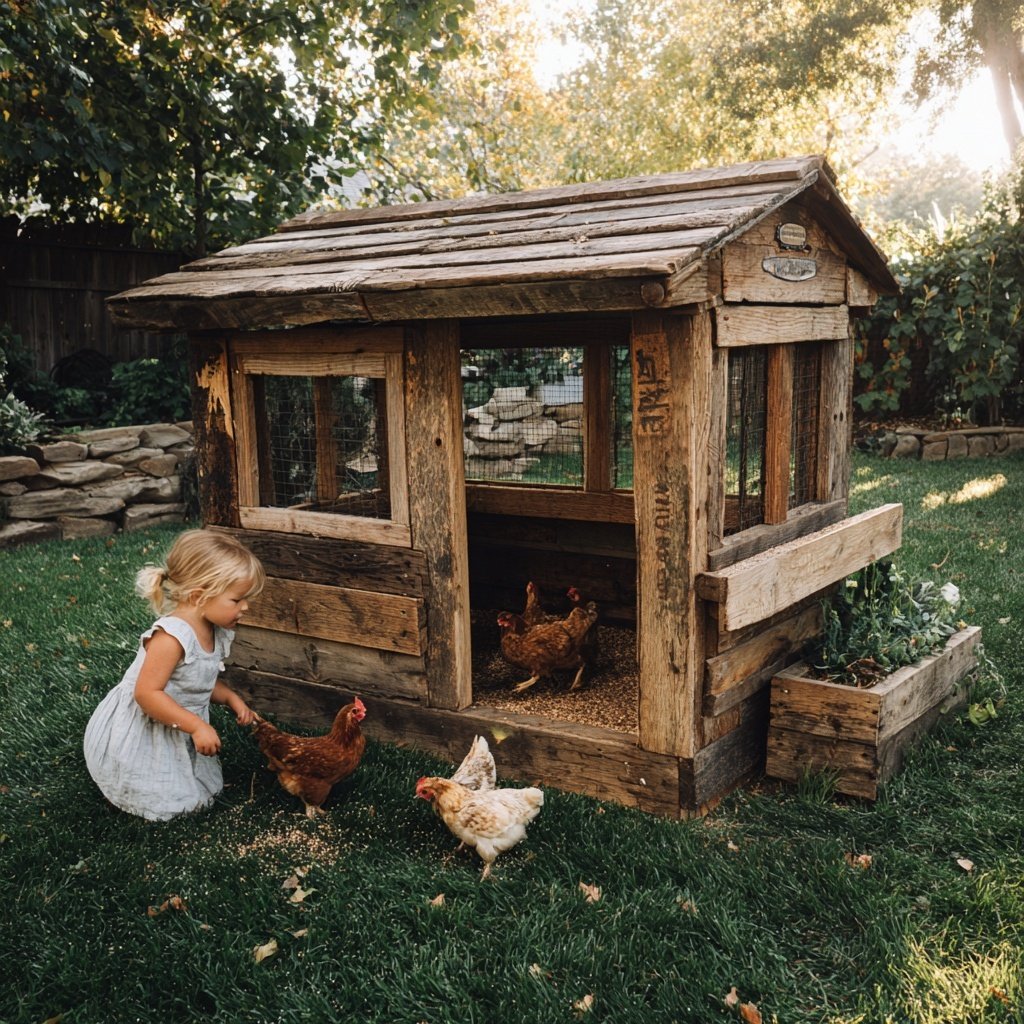
I have always wanted to give my chickens the best possible living conditions, and building a backyard chicken run was the perfect solution. It allows them the freedom to roam while keeping them safe from predators. After researching various designs and materials, I settled on a sturdy and spacious setup that not only accommodates my hens but also blends seamlessly into my garden. I can't wait to see how much happier and healthier my chickens will be in their new home!
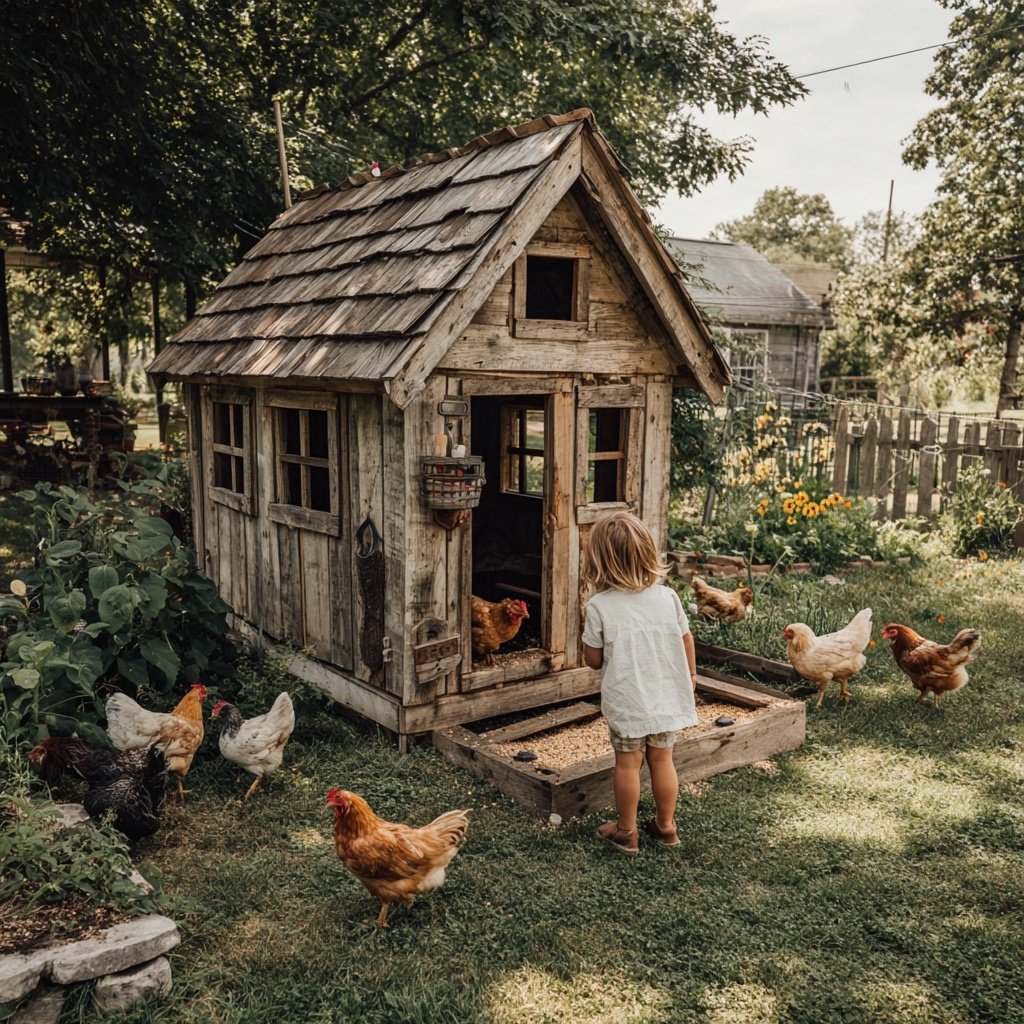
I poured my thoughts and ideas into the construction of my chicken run, ensuring that it would not only be functional but also aesthetically pleasing. I discovered that using sturdy materials like welded wire and pressure-treated lumber enhanced both durability and security. By incorporating multiple levels and areas for dust bathing, I created a versatile environment where my chickens could exhibit natural behaviors.
Throughout the process, I documented my steps and noted what worked best. For instance, I found using a sloped roof helped prevent rain accumulation, which could be detrimental to the run’s condition. Each adjustment added a layer of wisdom to the adventure, making it a project of both labor and learning.
Why You'll Love This Setup
- A safe haven for your chickens, keeping them protected from predators.
- Customizable design that focuses on the unique needs of your flock.
- Increases your garden's charm while providing a practical solution.
Choosing the Right Location
When setting up your chicken run, the location is critical for your flock's well-being. Choose an area that offers ample shade to protect chickens from overheating during hot summer days. A spot with good drainage is also ideal, as standing water can create breeding grounds for pests. Furthermore, placing the run near your home allows for easier daily management and ensures that you can keep an eye on your chickens throughout the day.
Additionally, consider the proximity to predator habitats. Areas with dense vegetation or nearby woods might present a higher risk of predation. Look for spots that are easily visible from your home while being secure from potential threats like raccoons or hawks.
Flooring Options: Sand vs. Gravel
Selecting the right flooring for your chicken run plays a significant role in maintenance and comfort. Both sand and gravel have distinct advantages. Sand is great for drainage and can be easily raked to keep the surface clean, whereas gravel might provide better traction for your chickens. I prefer sand as it can be softer on their feet and is easier to work with when creating a dust bath area.
If you opt for gravel, make sure to choose smooth stones, as sharp edges can harm the chickens’ delicate feet. You might also want to cover the surface with a layer of straw or hay for added comfort and warmth during colder months. Evaluate your local climate to determine which option will provide the best environment year-round.
Enhancing Your Chicken Run
After the main structure is built, think about how to enrich your chicken run further. Adding perches at varying heights can provide exercise and stimulation, allowing chickens to exhibit natural roosting behaviors. Nesting boxes should also be placed inside the run where they are easily accessible but protected from the elements. Creating a designated area for dust baths with loose earth or sand will help maintain your chickens’ feather quality.
Consider installing a rabbit-proof garden fence or using natural plants for aesthetics and additional shade. Additionally, planting herbs like basil or mint can benefit your birds as they repel pests and may enhance the air quality within the run. Just ensure the plants are safe for chickens, as not all flora is suitable for them.
Ingredients
Materials Needed
- Welded wire fencing
- Pressure-treated lumber
- Concrete mix
- Hinges
- Nails/screws
- Chicken door latch
- Roofing material (like corrugated metal or shingles)
- Sand or gravel for flooring
Instructions
Embarking on this DIY chicken run project requires careful planning and a list of materials to ensure a smooth build. Below are the essential steps to guide you in creating a successful setup for your chickens.
Choose a Location
Select a flat area in your yard with plenty of shade and not too far from your home for easy access.
Measure and Layout
Decide on the dimensions of your run and mark the corners with stakes or flags to outline the space.
Build the Frame
Using pressure-treated lumber, construct a rectangular frame as the base, reinforcing it for stability.
Install the Fencing
Attach the welded wire fencing around the frame, ensuring it is securely fastened to prevent any escape.
Create a Roof
Add a sloped roof using your chosen roofing material to protect the chickens from rain and sun.
Add a Door
Construct a door using hinges and a latch for easy access to the run while ensuring chickens stay safe.
Finish the Flooring
Fill the floor with sand or gravel, providing a comfortable and drainable surface for the chickens.
Decorate and Add Accessories
Incorporate perches, nesting boxes, and dust baths to create an enriching environment for your chickens.
Now that you've built your chicken run, watch as your flock enjoys their new space. Regular maintenance, like cleaning and inspecting for damage, will ensure a long-lasting setup.
Pro Tips
- Consider adding plants around the perimeter for added shade and aesthetic appeal. Regularly check for wear and tear to ensure the safety of your birds.
Maintenance Tips
Regular maintenance is vital to keeping your chicken run clean and safe. Aim to clean the run weekly, removing any waste and replacing the bedding to maintain a healthy environment. If you notice any signs of pests or disease, such as feather loss or decreased activity, act quickly by consulting a vet or chicken expert. This proactive approach will help preserve the health of your flock.
If using sand, consider sifting through it periodically to remove droppings and debris more effectively. This process not only keeps the area cleaner but also allows you to monitor your chickens' health by observing any changes in their droppings.
Winter Preparations
Preparing your chicken run for winter is essential to ensuring your chickens remain safe and comfortable. Insulating the walls with tarps or straw bales can help retain warmth while preventing drafts. Additionally, ensure that the roof channels snow away and doesn’t trap moisture, as wet conditions can lead to frostbite in chickens.
Adding bedding material like straw or shredded paper can create a warm layer on the floor, further insulating your chickens from the cold. Regularly check the run during harsh weather to ensure your chickens are comfortable and have access to fresh water that isn’t frozen.
Final Touches
Once the initial setup is complete, consider adding a few final touches that can benefit both you and your chickens. A water heater can prevent your chickens' drinking water from freezing in the winter. Installing feeding stations at different heights can mimic foraging behaviors and reduce competition among your flock.
Lastly, personalize your chicken run with decorations or structures that blend with your garden. A charming chicken run not only enhances your yard but also provides a pleasant viewing experience. Just be cautious about any added items ensuring they are non-toxic to your flock.
Questions About Recipes
→ How large should a chicken run be?
A good rule of thumb is at least 8-10 square feet per chicken, depending on the breed and how much time they will spend in the run.
→ Do I need to cover the chicken run?
Yes, covering the run helps protect chickens from aerial predators and harsh weather conditions.
→ What should I use for bedding in the run?
Sand or gravel is an excellent choice as it drains well and is easy to clean.
→ How can I keep pests out?
Ensure the fencing is buried a few inches underground and use fine mesh for smaller predators.
DIY Backyard Chicken Run Setup
Created by: Veronica Miles
Recipe Type: Quick & Simple
Skill Level: Intermediate
Final Quantity: 1 run
What You'll Need
Materials Needed
- Welded wire fencing
- Pressure-treated lumber
- Concrete mix
- Hinges
- Nails/screws
- Chicken door latch
- Roofing material (like corrugated metal or shingles)
- Sand or gravel for flooring
How-To Steps
Select a flat area in your yard with plenty of shade and not too far from your home for easy access.
Decide on the dimensions of your run and mark the corners with stakes or flags to outline the space.
Using pressure-treated lumber, construct a rectangular frame as the base, reinforcing it for stability.
Attach the welded wire fencing around the frame, ensuring it is securely fastened to prevent any escape.
Add a sloped roof using your chosen roofing material to protect the chickens from rain and sun.
Construct a door using hinges and a latch for easy access to the run while ensuring chickens stay safe.
Fill the floor with sand or gravel, providing a comfortable and drainable surface for the chickens.
Incorporate perches, nesting boxes, and dust baths to create an enriching environment for your chickens.
Extra Tips
- Consider adding plants around the perimeter for added shade and aesthetic appeal. Regularly check for wear and tear to ensure the safety of your birds.
Nutritional Breakdown (Per Serving)
- Calories: 0 kcal
- Total Fat: 0g
- Saturated Fat: 0g
- Cholesterol: 0mg
- Sodium: 0mg
- Total Carbohydrates: 0g
- Dietary Fiber: 0g
- Sugars: 0g
- Protein: 0g